Docker Installation

According to its official website, Docker is a platform for developers and system administrators to develop, deploy, and run applications with containers. A container is an instance of an image, which in turn is a package with everything needed to run an application (OS, libraries, etc.). An image can have several instances, that is, several containers. Using Docker over other solutions like virtual machines has its advantages, mainly in the performance of the machine since Docker shares the kernel with the host computer.
To give an idea of what Docker is for, imagine that you develop a web application in PHP, with a MySQL database, and Laravel framework. You need a couple of additional configurations for your application to work correctly: SSL, a couple of virtual hosts, Redis, etc. As a developer, when you pass new features to QA for testers to test, you find that the test server is in CentOS, so you have to configure your whole application by installing from the language to the configurations again. With Docker, you could simply have an image of Debian with PHP installed and configure it to install the rest and run the configurations when the system is started. This way, you wouldn't have to perform these configurations every time you want to deploy your app in a different system. You wouldn't even have to have PHP or MySQL installed on your development computer since you could share a folder between your machine and the container where you have the installed application so that your machine only requires the development IDE.
Installation on GNU/Linux
To install Docker on Linux, we can run the following command on Debian-based distributions:
sudo apt-get install docker.ioInstallation on Windows 10 and MacOS
The installation on Windows 10 should be performed on the Pro version, and Hyper-V must be enabled. You have to access this link:
https://hub.docker.com/?overlay=onboarding
If you are not registered on the Docker hub, you must create an account by clicking on Sign Up.
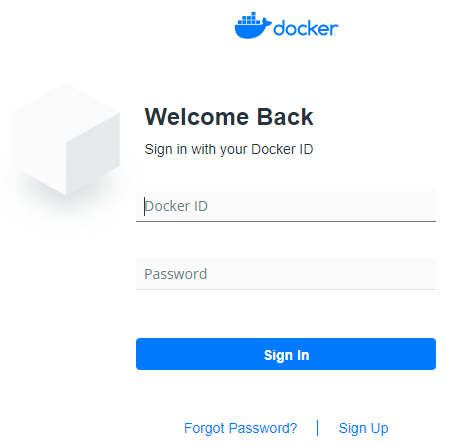
Once logged in, when you click on Get started with Docker Desktop, a modal window will appear that will allow you to download Docker for Windows or Mac.
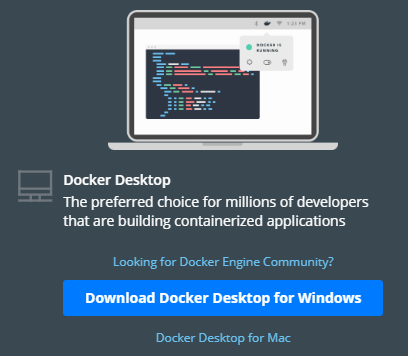
Once downloaded, you must run the installer, which will verify the requirements and install Docker. In the case of MacOS, the installation package is usually a .dmg, so it will be enough to run and perform the usual drag and drop.
Hello world in Docker
To verify the installed version, we can run the command docker --version. If you want more information about the installation performed, the commands docker version or docker info are usually very useful. Since the Docker daemon runs under a socket (of root) instead of under a TCP/IP port, it is necessary to run all Docker commands with sudo or with root. To avoid the use of sudo, you can follow the following tutorial to add the user in session to a group created with the name docker.
The next thing we can do is run a Docker image called hello-world. For this, we must execute the following command:
docker run hello-worldYou should get a message similar to the following:
Hello from Docker!
This message shows that your installation appears to be working correctly.

To generate this message, Docker took the following steps:
 1. The Docker client contacted the Docker daemon.
 2. The Docker daemon pulled the "hello-world" image from the Docker Hub.
    (amd64)
 3. The Docker daemon created a new container from that image which runs the
    executable that produces the output you are currently reading.
 4. The Docker daemon streamed that output to the Docker client, which sent it
    to your terminal.

To try something more ambitious, you can run an Ubuntu container with:
 $ docker run -it ubuntu bash

Share images, automate workflows, and more with a free Docker ID:
 https://hub.docker.com/

For more examples and ideas, visit:
 https://docs.docker.com/get-started/
With this, we are now ready to create our first containers in Docker. See you soon!.