ListView in Flutter

The ListView widget is commonly used for scrolling in an application. Some of the examples used in this post also make use of List, so we invite you to check out our article List en Flutter.
Definition of ListView
To define this type of list we can use the ListView widget and pass a list of widgets to the children property.
ListView(
  children: [
    ...
  ]
);
With ListView we can scroll the application in the direction of the main axis. Note how in the following example the number of text widgets exceeds the height of the screen.
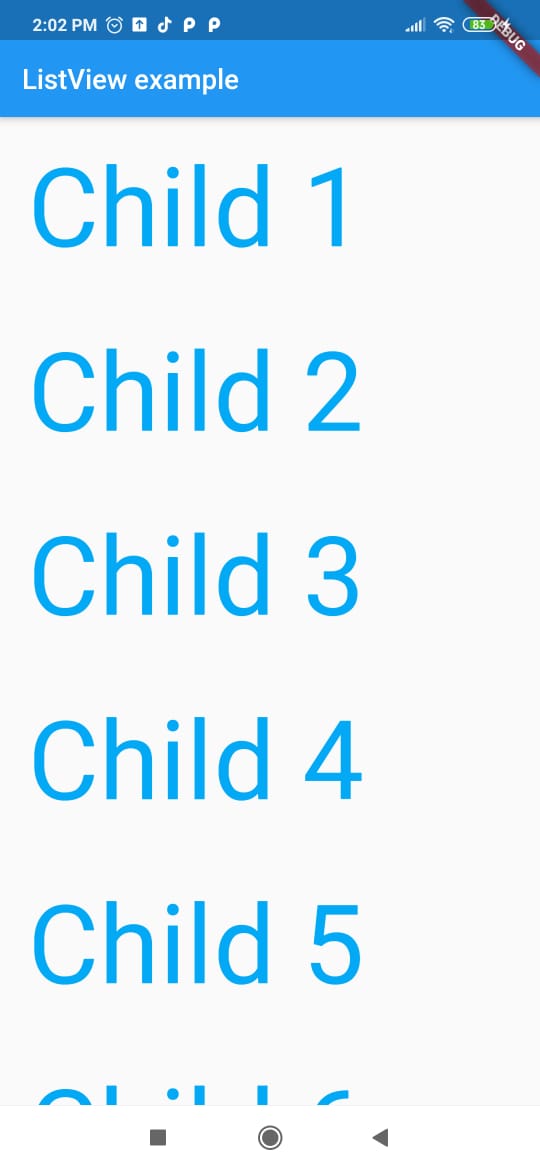
Below is the code for the example.
import 'package:first_layouts/quote.dart';
import 'package:flutter/material.dart';

void main() {
  runApp(MaterialApp(
    home: Home()
  ));
}

class Home extends StatelessWidget {
  @override
  Widget build(BuildContext context) {
    return Scaffold(
      appBar: AppBar(title: Text('ListView example')),
      body: ListView(children: [
        Template('Child 1'),
        Template('Child 2'),
        Template('Child 3'),
        Template('Child 4'),
        Template('Child 5'),
        Template('Child 6'),
        Template('Child 7'),
      ]),
    );
  }
}

class Template extends StatelessWidget {
  final String text;

  Template(this.text);

  @override
  Widget build(BuildContext context) {
    return Container(
      padding: EdgeInsets.all(20),
      child: Text(
        this.text,
        style: TextStyle(
          fontSize: 80,
          color: Colors.lightBlue,
        ),
      ),
    );
  }
}
Note that we have also created a Template class to avoid repeating so much code when creating the text for each list item.
Iterating Over a List of Widgets
We can also apply what we learned in the previous post about Iterable Lists and render a set of text strings as follows:
class Home extends StatelessWidget {

  List<Template> strings = [
    Template('Child 1'),
    Template('Child 2'),
    Template('Child 3'),
    Template('Child 4'),
    Template('Child 5'),
    Template('Child 6'),
    Template('Child 7'),
  ];

  @override
  Widget build(BuildContext context) {
    return Scaffold(
      appBar: AppBar(title: Text('ListView example')),
      body: ListView(
          children: strings.map((quote) => quote).toList()
      ),
    );
  }
}
Note that the magic of this example, which renders the same view to the user as the first example, is in the map method.
strings.map((quote) => quote).toList()Using the Builder
The same previous example can be rewritten to use the builder of ListView as follows:
ListView.builder(
  itemCount: strings.length,
  itemBuilder: (context, index) {
    return strings[index];
  },
)
The result is exactly the same. You may be wondering what the context variable represents; below is a link for you to delve a little deeper into this way of presenting information.
- Create lists with different types of items